

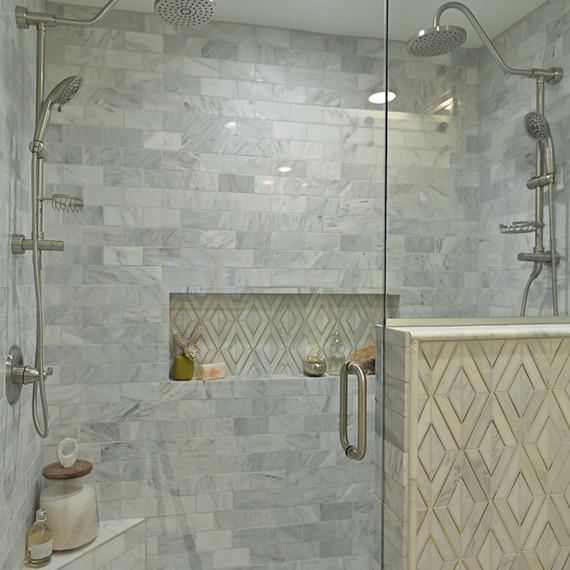
Where To Place Shower Decorative Strip
half-dozen MISTAKES TO Avoid FOR a WATERPROOF Shower Floor
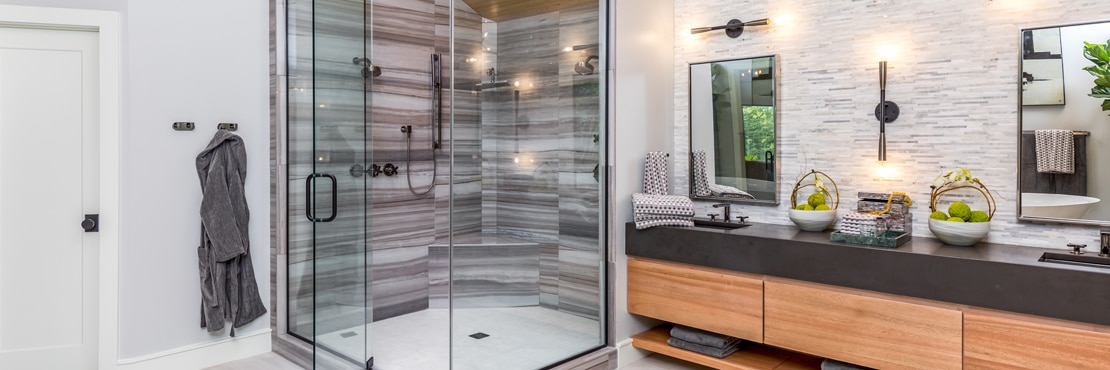
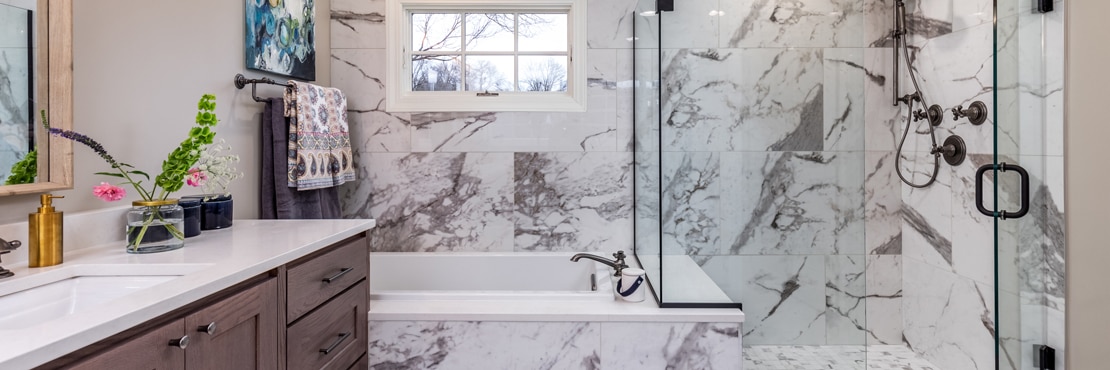
There'south no cutting corners when it comes to installing shower tile. Even one small oversight can spell disaster. If you want waterproof bath tile in the shower, be aware of these common mistakes.
Mistake #1
Bold Grout, Tile, and Sealers Lone Make a Waterproof Shower
Tile and sealed grout is water resistant, but without the proper preparation and installation, water volition find its way around them in no time.
- Take time to correctly install the tile. The Tile Council of North America Handbook has detailed instructions on how to set up shower flooring for tile and how to install for waterproof bathroom tile, including shower pans, waterproofing membranes, and capitalist lath for the shower walls.
- Stick to the same manufacturer for equally many components as you can. If you use a shower pan from one manufacturer and waterproofing from another, they may not exist uniform.
- Double check how much waterproofing or sealing is needed. I glaze may not be enough.

Mistake #2
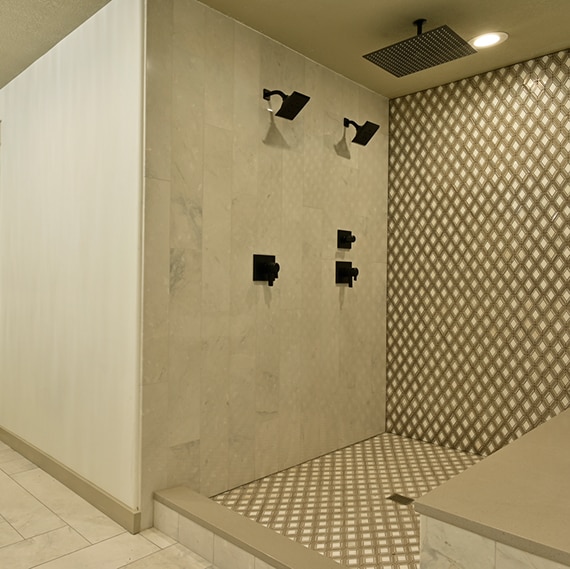
Forgetting to Calculate the Proper Amount of Slope for the Drain
Without the correct slope on the floor of your shower, the water will not drain properly. Continuing water is a recipe for growing bacteria and developing leaks.
- Ensure the shower flooring has a ¼" per foot pre-slope (slope before application of whatsoever materials).
- Hire a contractor if yous have whatever doubts about your abilities.
- Install pea gravel or spacers around the drain and cry holes to enable drainage.
Fault #iii
Forgetting to practice a Alluvion Examination before installing tile
Once you take finished preparing the shower space and before you start installing tile, test out the water tightness. It only takes a hole the size of a pin about 20 minutes to start seeping. It's much easier to address leaks in your shower pan before the tile goes downwards.
- Test for a full 24 hours.
- Plug the drain with a test plug, which plugs weep holes and the bleed, fill the shower pan and check periodically.
- Establish that the drain is tight by filling the shower pan upwardly to the top. Whatever driblet in the water level may indicate a leak.
- Pull the plug and watch to see that the gradient is sufficient and weep holes are clear.

Mistake #4
Breaching the Waterproof Membrane
In one case you lot've created a waterproof zone, be careful to protect information technology from any breach while you are tiling a shower.
- Never employ nails or screws to attach cement boards to shower walls.
- Avoid using nails or screws to attach curbs or benches.

Mistake #v
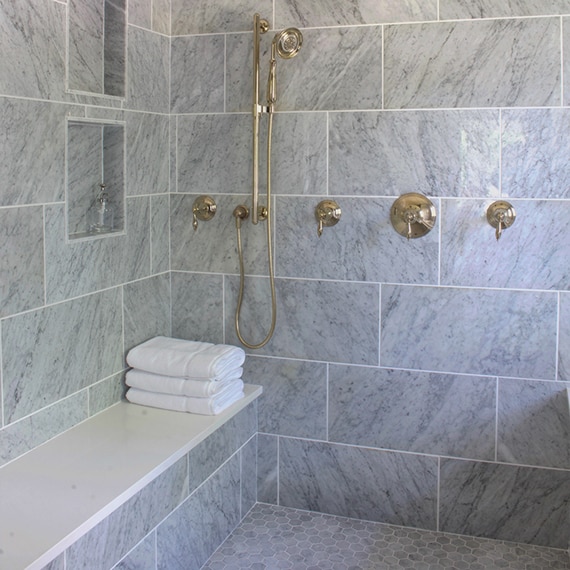
Selecting improper Tile for the Shower
All tiles are rated for different purposes so be sure you lot've picked tile that is advisable for the shower. Note that tile for the shower flooring is a dissever rating from tile for the shower wall.
- Check the specs on your tile to make sure it is rated for wet applications.
- Select dissimilar tiles for the flooring and walls of your shower or a single tile for both that is appropriate for the shower floor.
- Apply sealers to your tile and grout regularly to add to its water-resistance.
Mistake #6
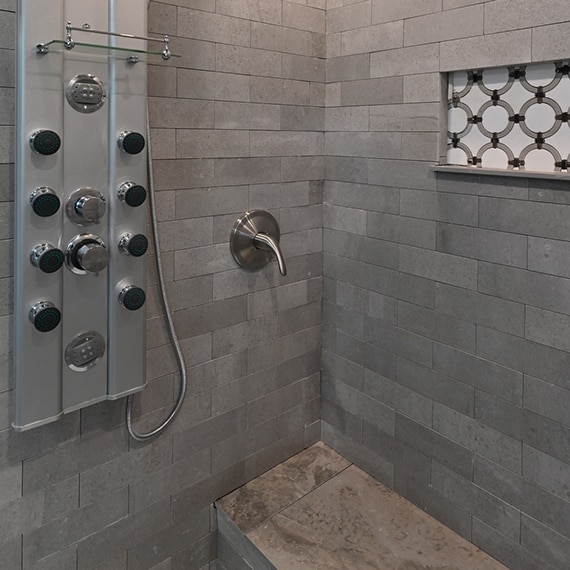
Poor Mortar coverage
Information technology may seem similar it'south extra work to get full and fifty-fifty coverage with the mortar, but never have shortcuts when tiling a shower. Whatever empty spaces backside the tile are opportunities for bacteria growth should whatever water become through.
- Avert using "dot" or "back buttering" methods of applying mortar.
- Tile requires a minimum of 95% mortar coverage to piece of work efficiently in wet applications.
- Big format tiles peculiarly need skillful mortar coverage
RELATED ARTICLES
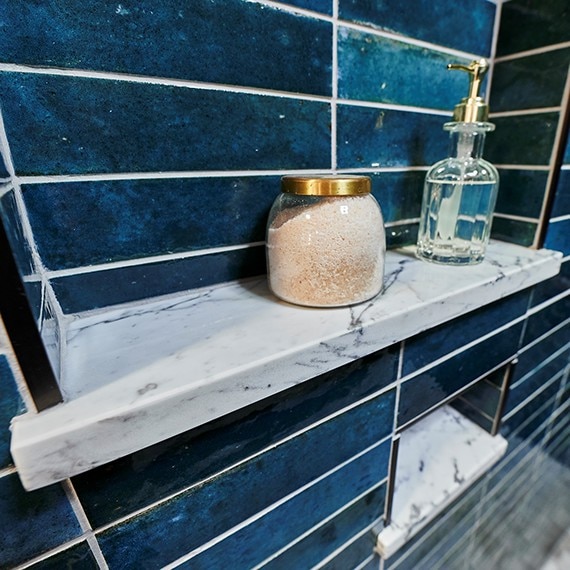
Shower
Shelves
Chip Wade shares his insight for built-in shower shelves - functional way at its best.
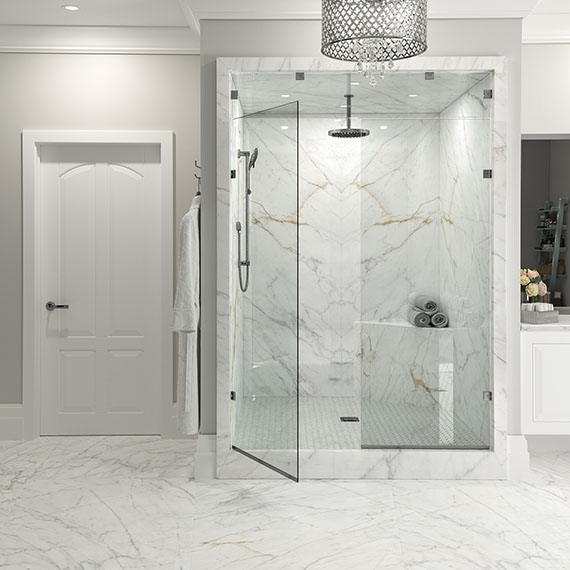
Large Format tile Showers
Shower designs that feature impressive large-format tiles make envied focal points.
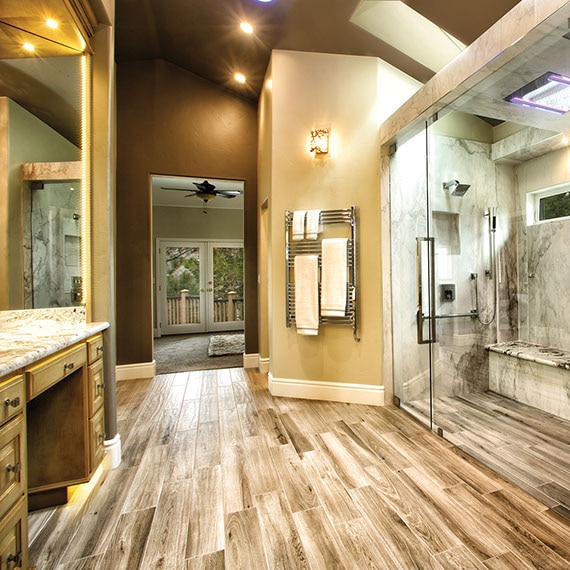
Wood Look
Shower
Existent forest in a shower is crazy. Just slip-resistant forest look tile is perfect for the shower.
Natural rock Shower
Our award-winning designers offer proficient advice for luxurious natural rock in the shower.
Source: https://www.daltile.com/trend-hub/chips-tips/6-mistakes-to-avoid-with-shower-tile
Posted by: fosterbeine1971.blogspot.com
0 Response to "Where To Place Shower Decorative Strip"
Post a Comment